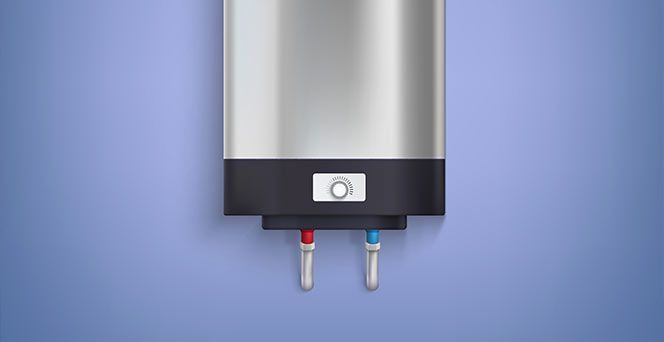
A recreational vehicle commonly known as RV is a moving motorcade that is used for travel and it is loaded with all basic needs that are placed in any home. It is also named a moving home because it is filled with all basic home utilities i.e. washing, bathing, bedrooms, and a small kitchen. The installation of a tankless water heater in an RV is most important to get an unlimited supply of water at any time. The basic water just only provides a limited supply of water, but a tankless water heater works on the conversion of heat exchange into hot water.
A tankless water heater does not take any extra space, brings an unlimited supply of hot water, and fits in place of the old water heater of the RV.
Steps For Installing Tankless Water Heater In RV
1. Estimating cost of new tankless water heater installation
Tankless water heater installation is not a much costly process. But an estimate of cost is calculated so it could not become a much expensive process.
2. Choosing quality of product
As low-quality material of tankless water heater might cause damage to an electrical supply, gas supply or any unexpected damage. So, choosing a high-quality water heater is necessary to get properly heated water and prevent any uncertain damage crisis in the future. A product having a warranty claim is beneficial for water heater installation.
3. Availability convenience and energy saving
Choosing a tankless water heater with availability, convenience, and energy-saving is a plus point to make a tankless water installation. Choosing an energy-saving water heater might be suitable for proper water supply at any time.
4. Getting help from experienced professionals
Get help from tankless water heater installation experts. These technicians use all necessary tools and equipment’s to install the water heater efficiently and in a specified time.
5. Turning of all current, gas supplies
Before you move towards installing a tankless water heater, the initial step is a precautionary step which involves switching off all power sources of electricity, gas and turning off the propane tank. To ensure proper installation, all necessary tools are required.
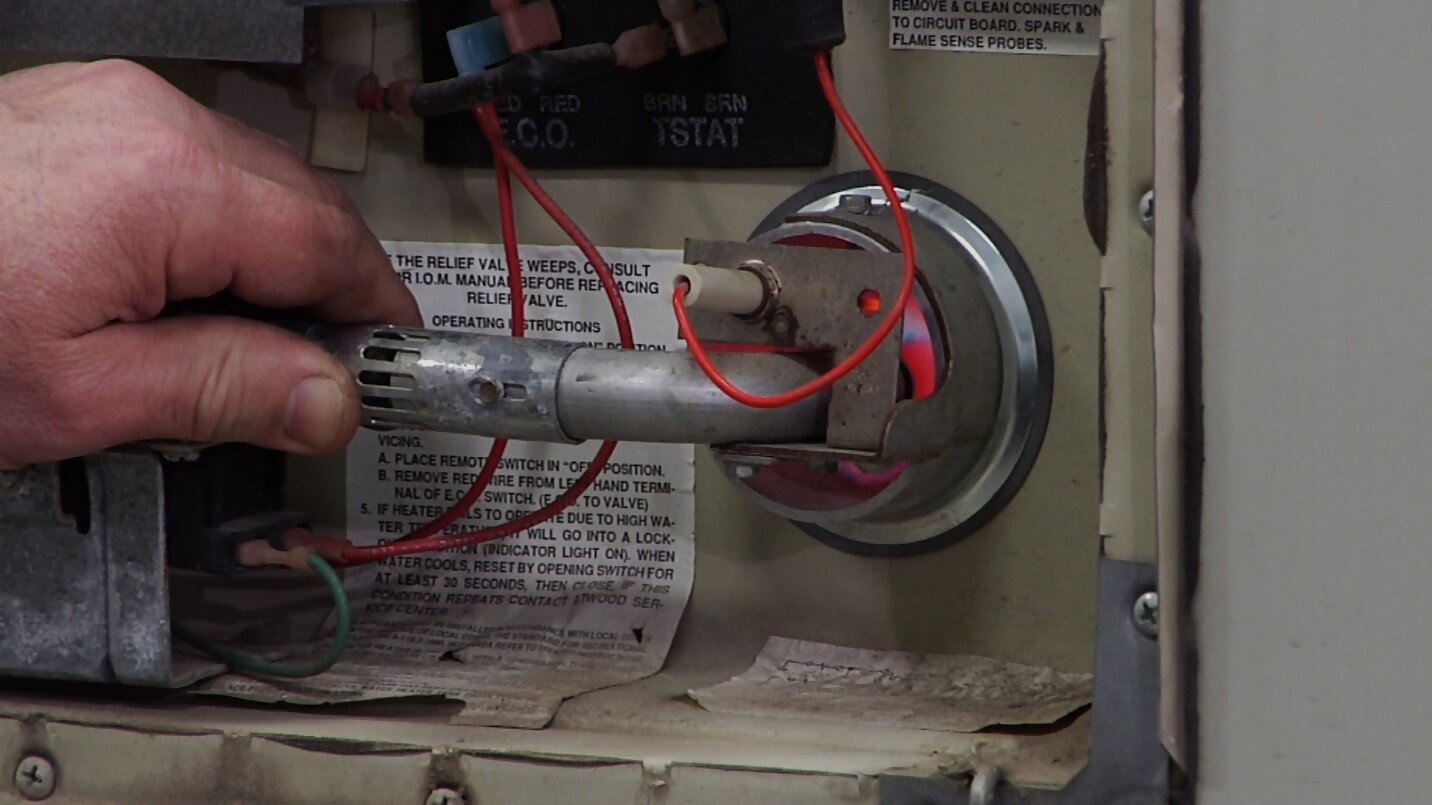
6. Removing an old pre-installed water heater
While working on installing a new tankless water heater, the removal of the old water heater of RV is important. The new tankless water heater will easily fit in the place of an old water heater.
7. Cleaning area for making a new installation
The frame of the old water heater is removed carefully by removing screws with the help of a screwdriver then the old unit is removed. After removing the old unit the area is cleaned carefully so the new tankless water heater must get fit properly.
8. Removal of old adhesive
The residue of the old adhesive is removed with the help of a heat gun. An expert technician carefully checks for any adhesive that might cause a problem in the new fitting.
9. Placing new tankless water heater
When all cleaning is done, a new tankless water heater is smoothly slid into the place of an old water heater. If space is not enough, a drill is used to get enough space to make it a perfect fit. When space is made then a tankless water heater is placed into that space.
10. Filling the inside gaps
When an installation is done, the frame of the water heater is installed with the help of screws and a screwdriver. After which a glue gun is used to fill the remaining gap or to seal the sidings of the fitting. The gaps are closed with adhesive to make it a proper fit.
11. Placing the door of the tank
The closing door is attached to the outer side of the tank and is fixed with glue or adhesive. The closing door protects the body of the water tank to minimize any outer damage to it.
12. Sealing the outer frame gaps
If your water heater is small enough to fit in the place of the old water heater, then to hold it still in the place a protective layer of glue is used to completely seal the outer frame gaps.
13. Connecting electrical and gas supply back
After completing the installation of a tankless water heater, the electrical supply and gas supply wires are connected back to get an unlimited supply of hot water at any time.
14. Connecting hot and cold water wires
Hot and cold water which were disconnected during installation is connected back to get an adequate supply from the tankless water heater.
15. Installing temperature panel
A temperature or control panel is installed inside the RV to control the temperature for the supply of cold and hot water. This control panel also allows the user to get desired heated and cold water at any time.
16. Check the tap for hot water supply
By switching on the control panel, you can turn on the tap of water to check that the connection is working properly and you are getting an adequate supply of water without any problem.
17. Set the temperature of the control panel
While checking for the water supply, make sure you set the control panel temperature at a low level to make it work efficiently and provide you with an excellent supply of hot water.
Conclusion
RVs are specialized moving homes to make your journey comfortable as they are loaded with all home facilities. The presence of a water heater is very important as water is used for basic needs fulfillment. The tankless water heater is used to get an on-demand hot water supply. The tankless water heater reduces the chances of water leakage as it will provide water when it is needed and at any time. The maintenance of a tankless water heater costs very little.
The technicians of tankless water heaters are highly trained and well equipped. Consulting from a verified and licensed water heater installation company will help you to install a tankless water heater in your RV without bringing any harm to other parts of the RV. These professionals are insured enough to make you comfortable in case of any unexpected damage claim.