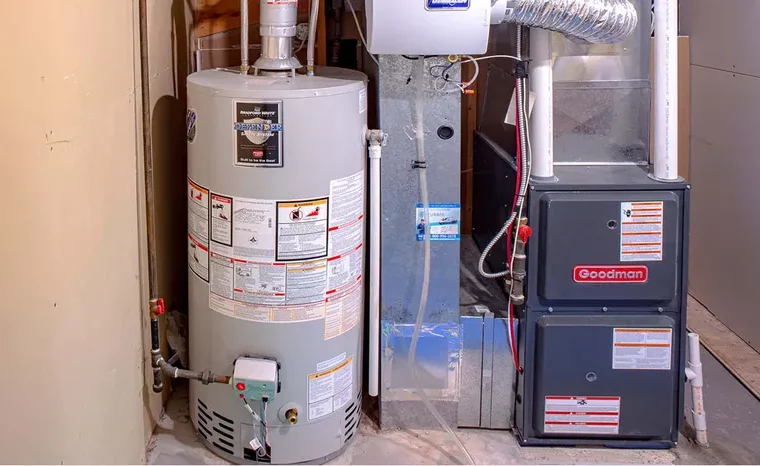
On average, a water heater lasts for about 10-15 years. If you have been living in the house for more than a decade now, your water heater needs to be replaced. As replacing a water heater unit requires a permit in some areas, you have to hire a professional to do the work or acquire a permit before starting the DIY project. As part of the permit process, a professional will review your work to ensure there isn’t anything wrong when you are wiring a hot water heater.
Hot Water Heater Wiring Guide:
Installing a water heater is not a difficult task, but it’s something a homeowner rarely repeats in their life. Moreover, any mistake can harm you and your loved ones. Water Heater Picks, one of the best-known water heater guidance websites, understands your struggles in learning the water heater wiring process. Our experts have created this simple and easy guide for anyone looking to wire an electric water heater.
Step 1: Collecting the Tools and Supplies
Once you have acquired the necessary permits, it’s time to gather the required tools and supplies. Assess your hot water needs before making a purchase. Search online, read vendors’ reviews, and get in touch with industry professionals to determine the best type and size of water heater for your household.
The installation process takes a few hours to clear your schedule before starting the work. Your hot water supply will be interrupted for some time so adjust accordingly.
You will need the following tools and a helping hand from your friend or a family member.
- Pipe wrench
- 4-in-1 screwdriver
- Adjustable wrench
- Electrical tape
- Soldering torch
- Solder
- Plumber’s tape
- Safety glasses
- Voltage tester
- Tape measure
- Tube cutter
- Wire stripper/cutter
- Pipe thread compound
- Discharge pipe
- Fittings
- Pressure relief valve
- Venting pipe and connectors
- Water and gas piping
Step 2: Disconnect Electric Supply to Wire Hot Water Heater
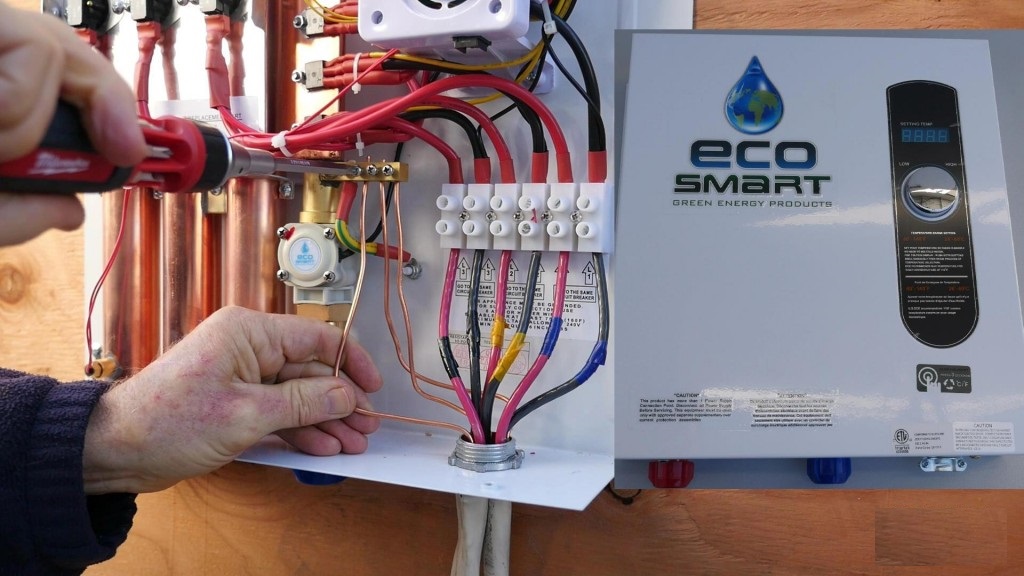
Before you touch the water heater wiring, turn off the water heater. You will most probably find an electric water heater junction box located at the top of the water heater, but you might find it on the side of some models. Use the screwdriver to remove one screw to uncover two lead wires and a ground screw.
It’s best to double-check if power is running through the appliance. Messing with live wires can void the warranty and be quite dangerous. Use a voltmeter to check. If the power is running, interrupt it by tripping the GFCI breaker in the plug. If you cannot find it, locate the breaker in the power supply box and switch it off.
Step 3: Drain Hot Water
The next step is to drain hot water from the water heater. It would be best to connect a garden hose to the drain valve. Ensure the hose supplies water away from you as the water will be scalding hot. Drain the water left in the trunk by turning the valve. Locate the supply valve of your water heater and shut it off.
Step 4: Locate the Water Heater Electrical Connections
Locating the water heater’s electrical connections is the most crucial step of your DIY project. The electrical water heater connections are located in the electric water heater junction box.
Typically, the wire conductors leading to the heater are enclosed in the flexible duct or are made with a flexible metal cable, such as a metal-clad (MC) cable. It is a required feature in many earthquake-prone areas. The flexible wires leave a little wiggle room and make the replacement easier. Open the electric water heater junction box and take a picture, so you don’t have to rely on your memory to recall the connections.
Step 5: Understand the Water Heater Wiring
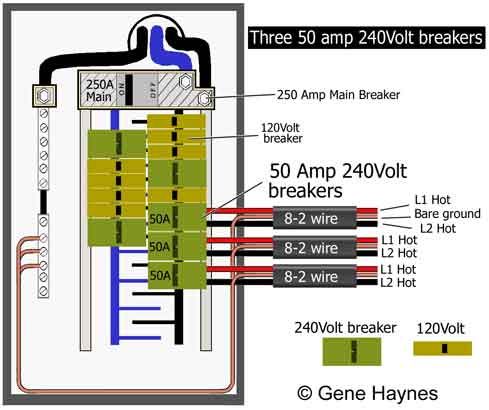
In general, electric water heaters require a 240-volt dedicated circuit. While considering the water heater wire size, the circuit wiring includes a 30-amp double-pole breaker and 10-2 non-metallic (NM) or MC cable. You will find some black, red, and white wires when you open the box.
The black circuit wire connects to the black wire lead on the water heater, and the white circuit wire connects to the white or red wire lead on the water heater. The white circuit wire is the hot wire. A 240-volt circuit carries live current in both the black and white wires instead of standard 120-volt wires. Notice that it is covered with black or red electrical tape near the connection at both ends of the circuit.
Step 6: Remove the Old Wiring and Pipes
Now you have understood how to wire a water heater, so you are prepared to remove the old wiring. You can use needle-nose pliers to remove the knockout. Start removing the old wires. Don’t forget to add labels to eliminate the chances of any mistakes.
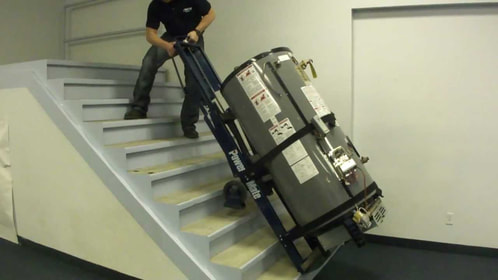
Unscrew the vent pipe from the vent hood and place it aside. Now cut the hot and cold water lines with a tube cutter. If you have flexible connectors, unscrew unions for galvanized pipe or the nuts. Slowly slide the old water heater out of the way and place the new heater on the spot. Wrap the threads of the new temperature and pressure relief valve with three turns of Teflon tape. Use a pipe wrench to screw it tightly into the tank.
Step 7: Fish New Wiring
When you wire a water heater, the wiring should match all its components. As the generic breaker size for water heaters is 30-amps, the ideal water heater wire size is a #10 American Wiring Gauge (AWG). Using a 10-2 Non-Metallic Cable (NMC) for a 30-amp 240Volt circuit would be better. This type of wire consists of two conductors and a ground wire.
Connect your breaker with a 10AWG wire. Start connecting the hot wires on both poles of the circuit breaker. Then, screw in the ground wire to its respective spot. Fish the wires from the Electrical Metallic Tubing (EMT) to your water heater’s junction box hole.
Once you are with securing wires with the junction cover, strip the wire insulation for about .75 mm. Run your wires through the ROMEX connector & clamp the NM cables sheathe to secure it. Connect the ground wire to the ground screw located inside the water heater junction box. Now twist the black wire of your circuit around a water heater wire you prefer.
Use a wire nut to seal up the new connections. To signify the status of white wire as a hot wire, mark it with tape. Afterward, link this white wire to another wire of the water heater.
Step 8: Make New Connections
After you wire the water heater:
- Make new pipe connections and reconnect the vent in its place.
- If required, install the temperature discharge valve.
- Make sure the connections are secure before turning on the water supply.
- Fill up the water tank and turn on the water heating element.
- Depressurize the pipes by opening the faucets for three minutes.
- Switch on and test and run the appliance.
Changing the water heater wiring is important for its long lifespan and durability. If you want to enjoy the maximum performance efficiency of your water heater, ensure that the wiring is in its best shape.
Is it too much for you to handle? No need to worry. Get in touch with water heater repair experts to take over the water heater wiring and installation process for you.